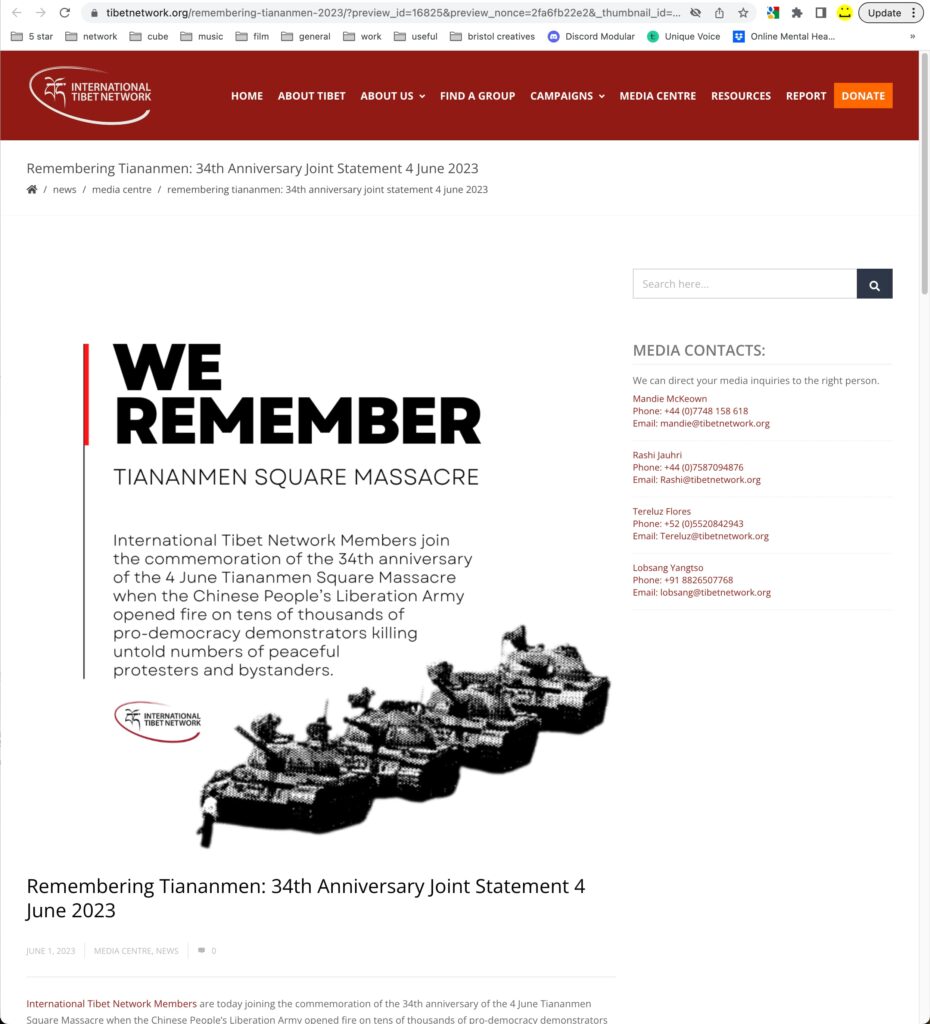
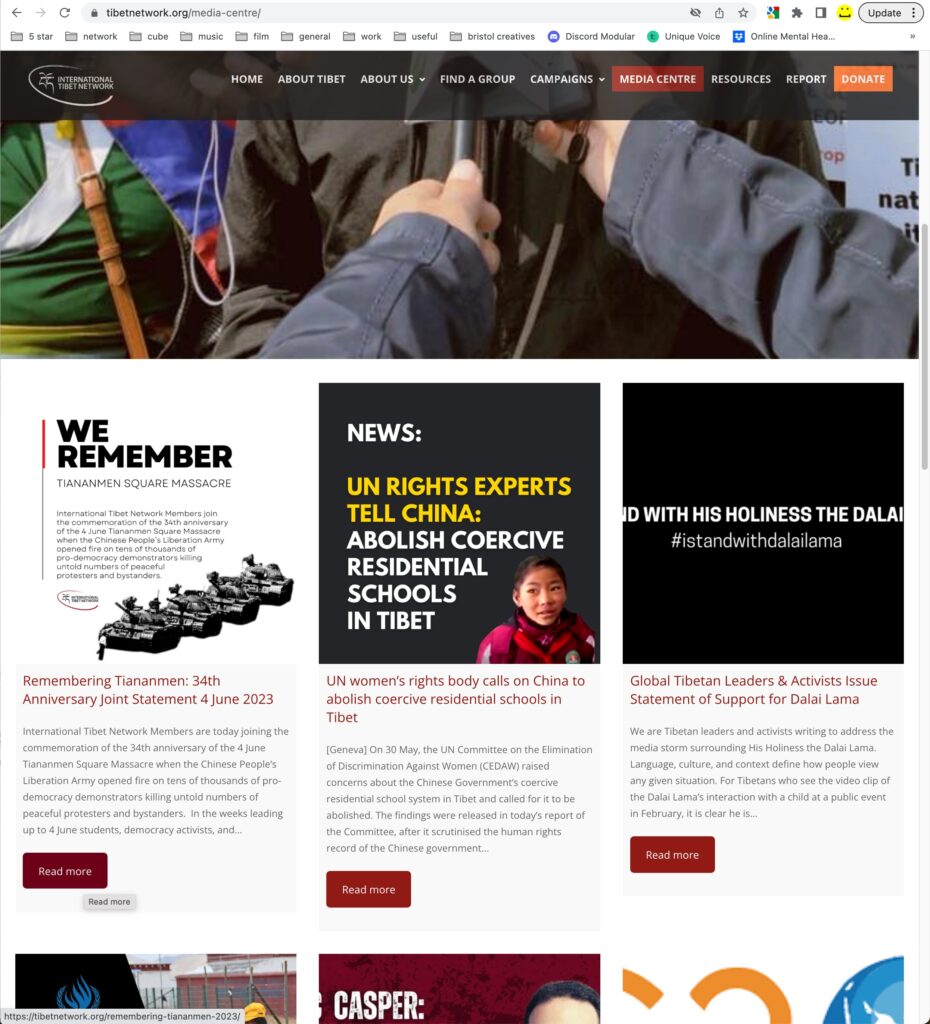
The Tibet Network websites mainly use either the Creativo or Nimva themes and the underlying system for using and editing them is the same – blocks.
Many of the Tibet Network sites are one-page sites, meaning all the content is on a single page. This can mean that when editing you run the risk of displaying any mistakes live online! If you have a lot of editing to do it’s a good idea to copy the existing content over to a ‘test’ page (see below). Otherwise just edit on the actual page if you’re feeling confident.
How to copy a page to a test page:
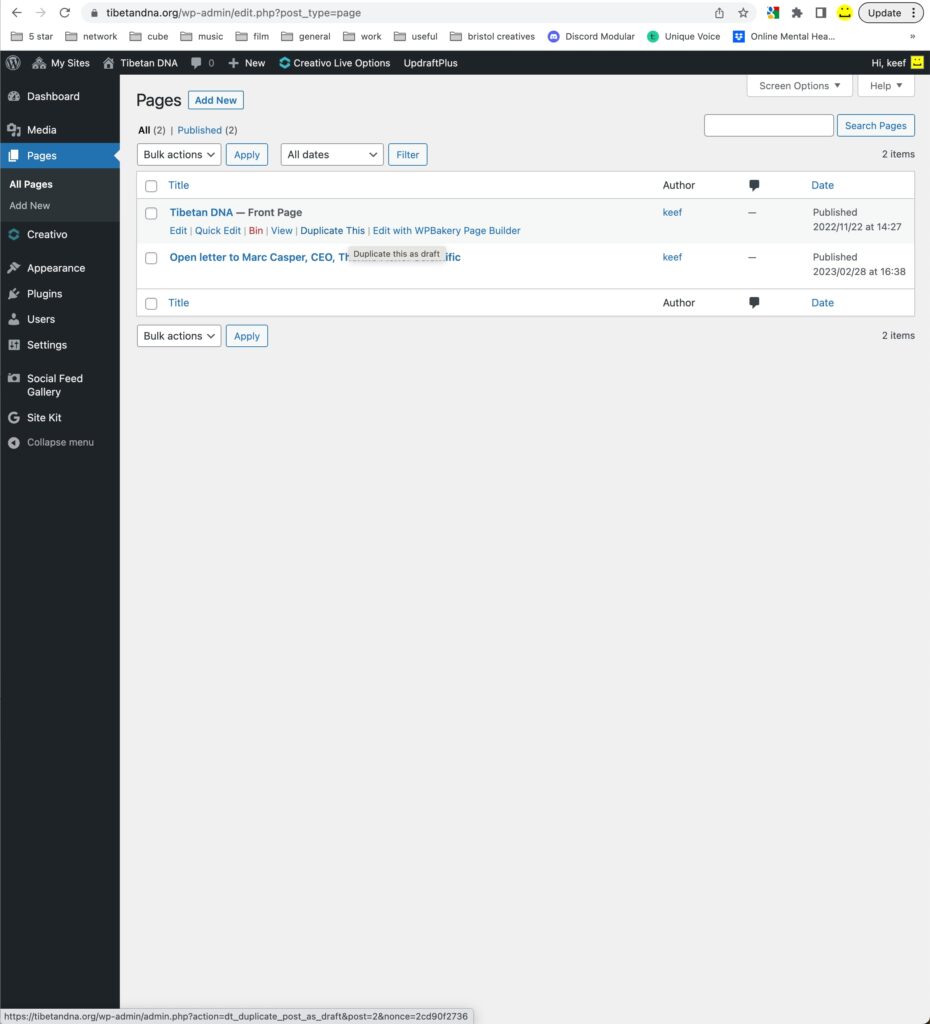
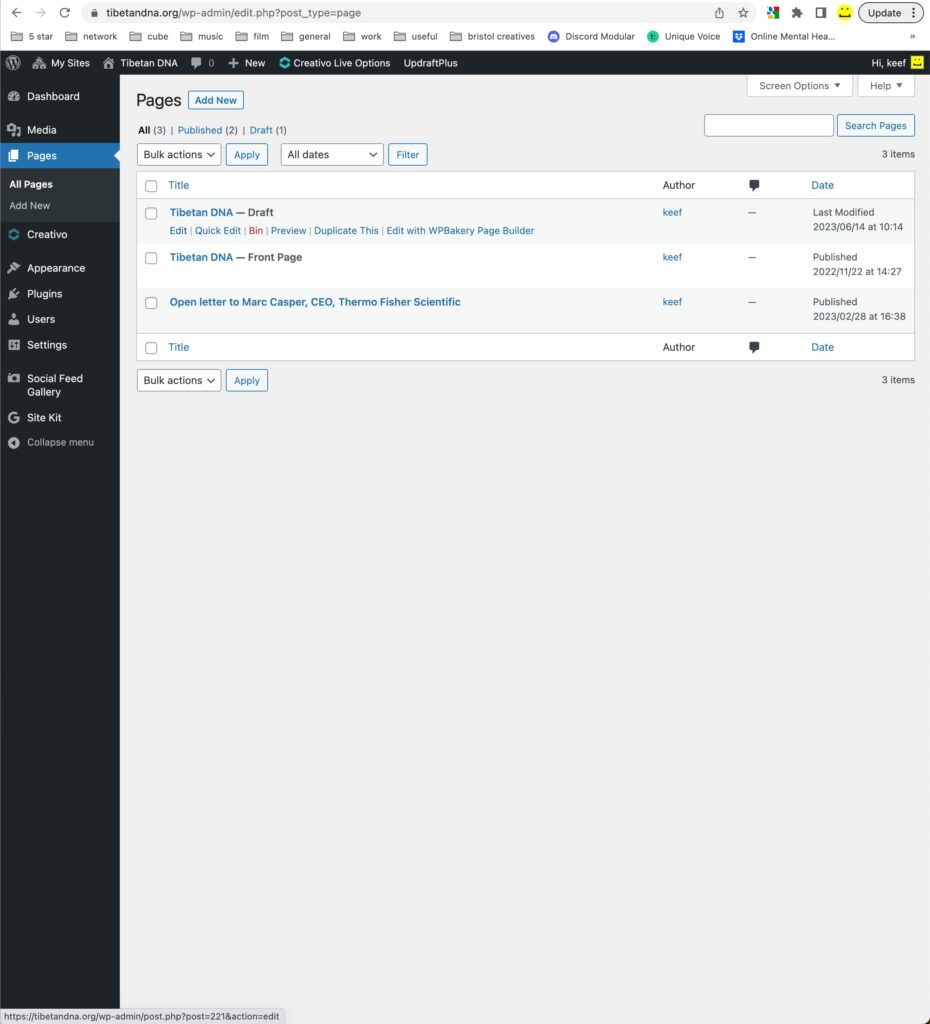
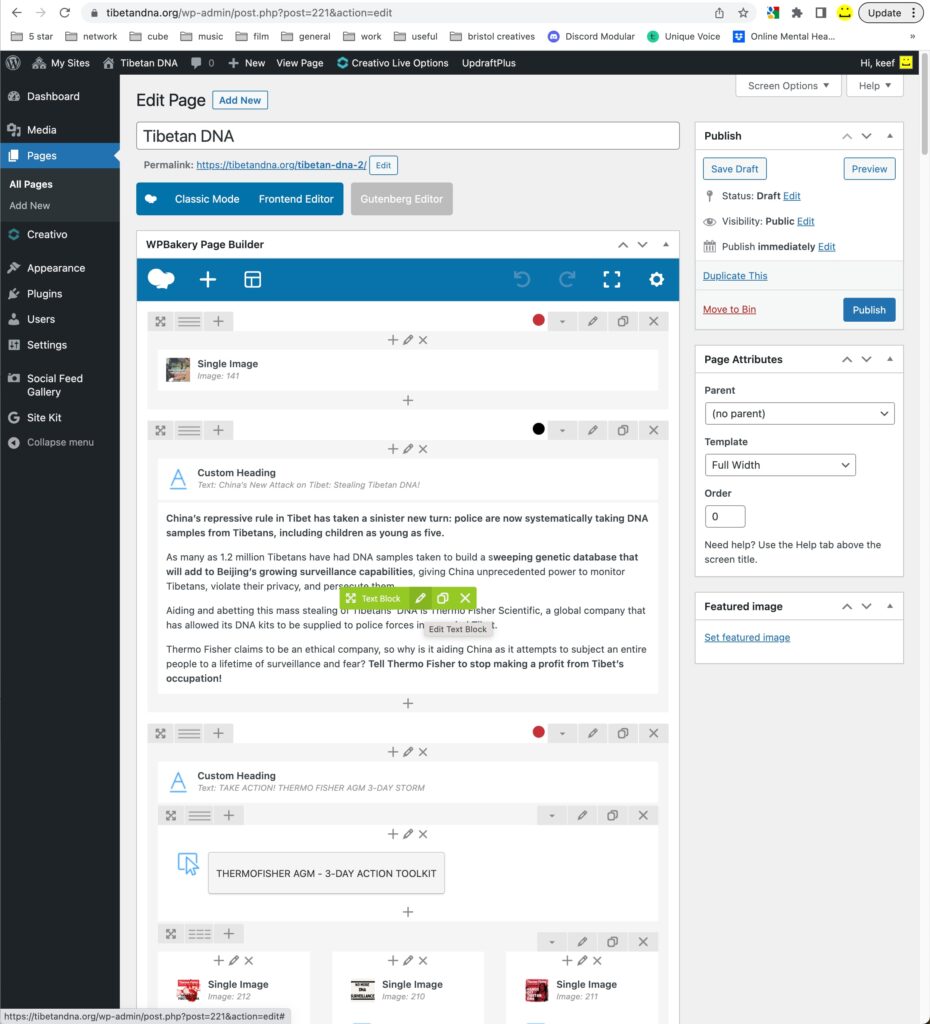
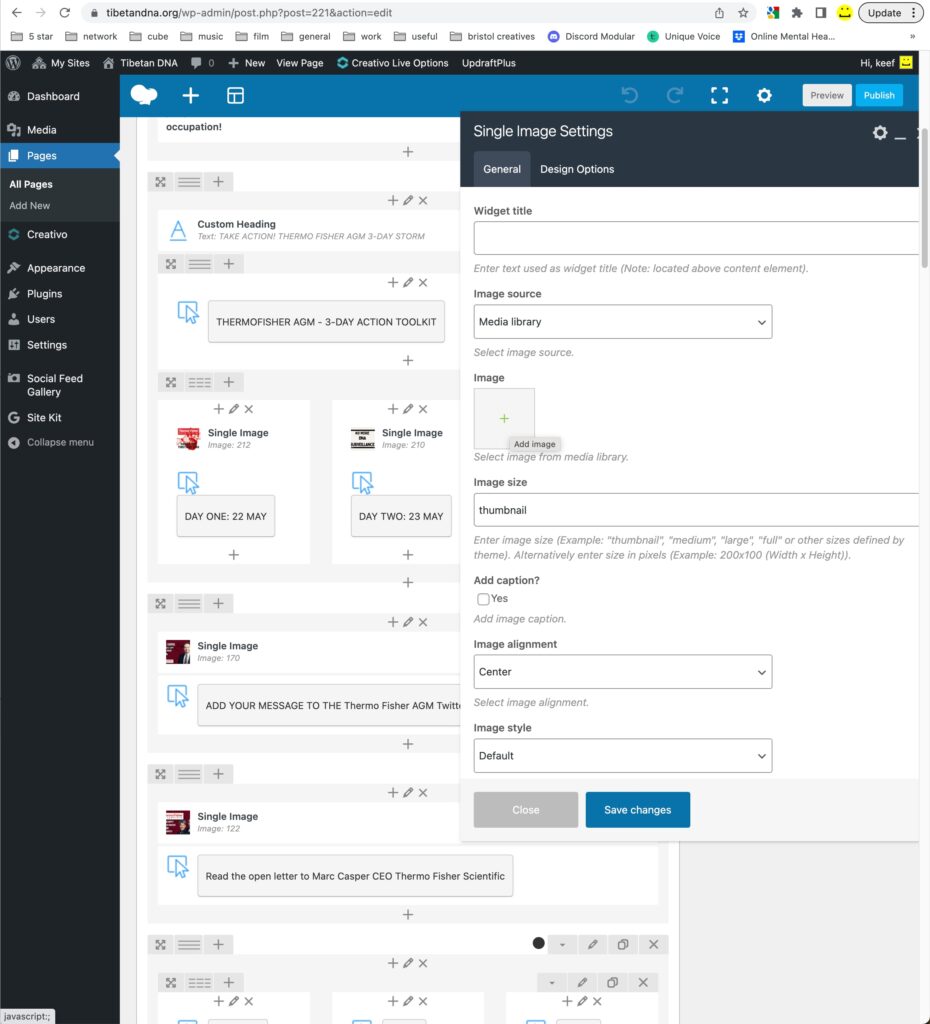
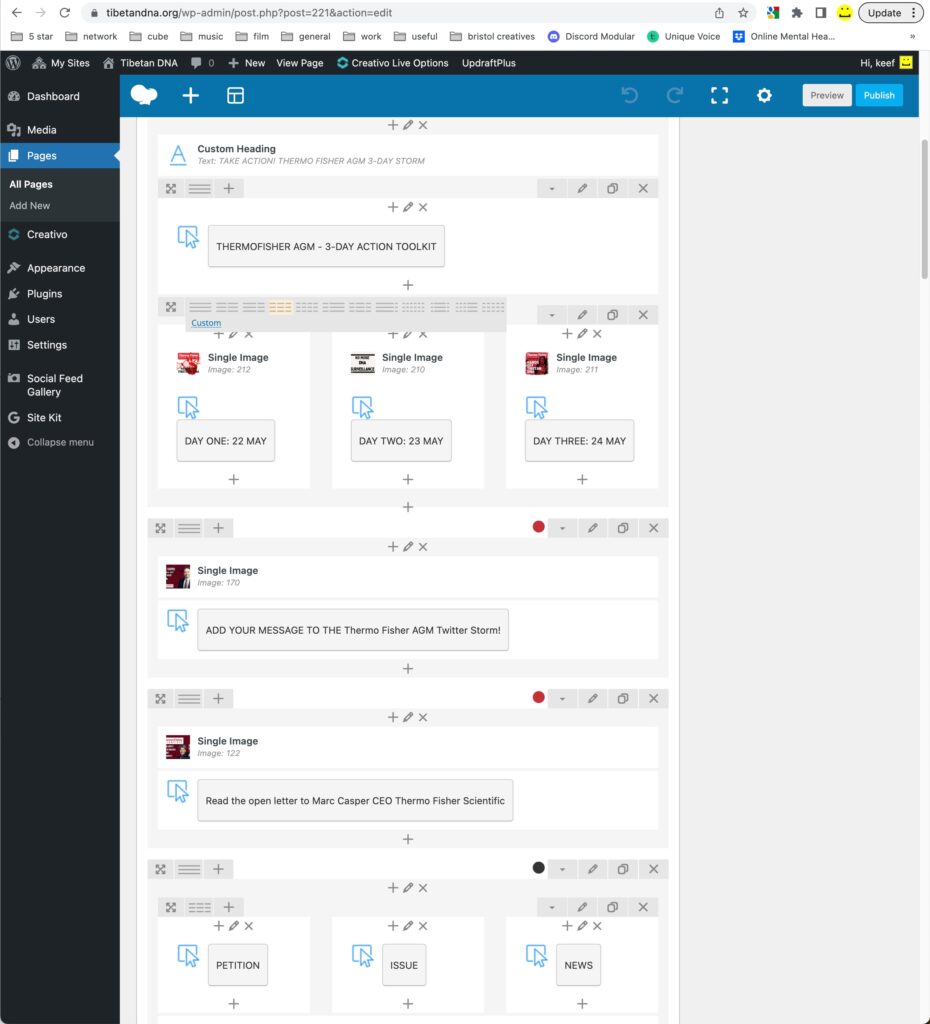
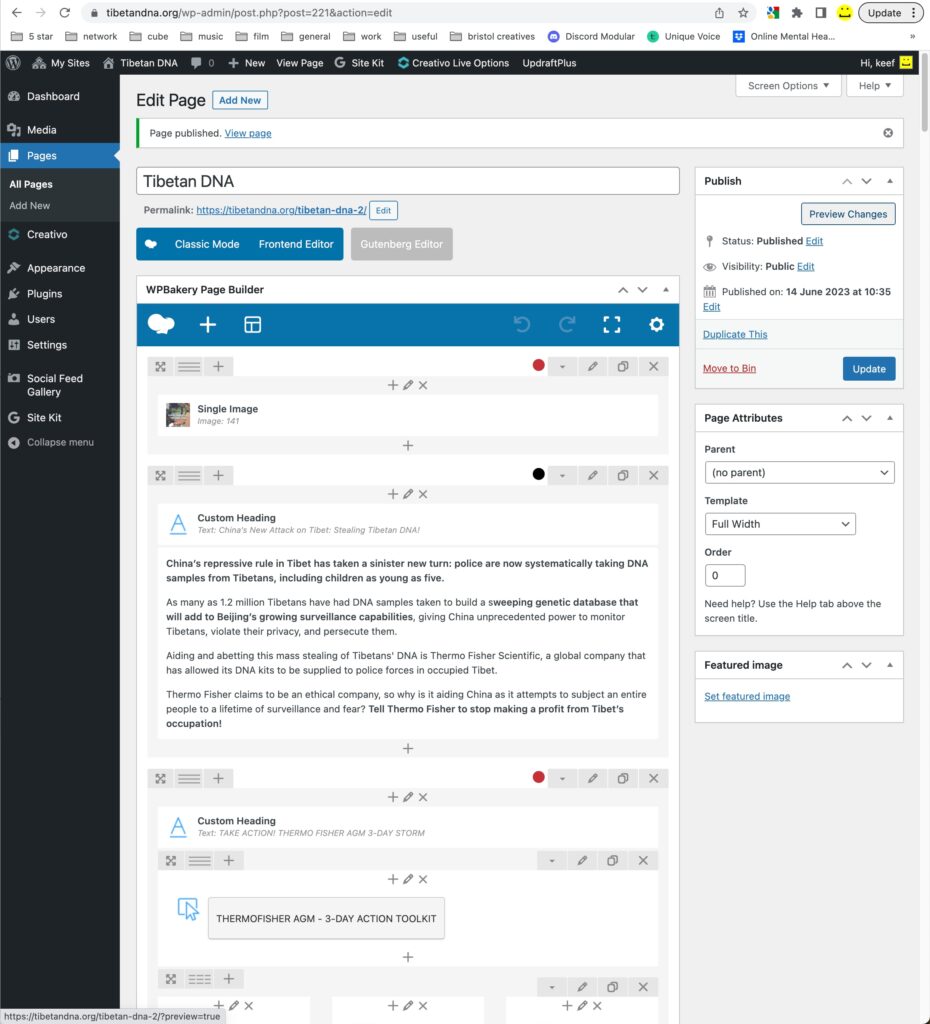
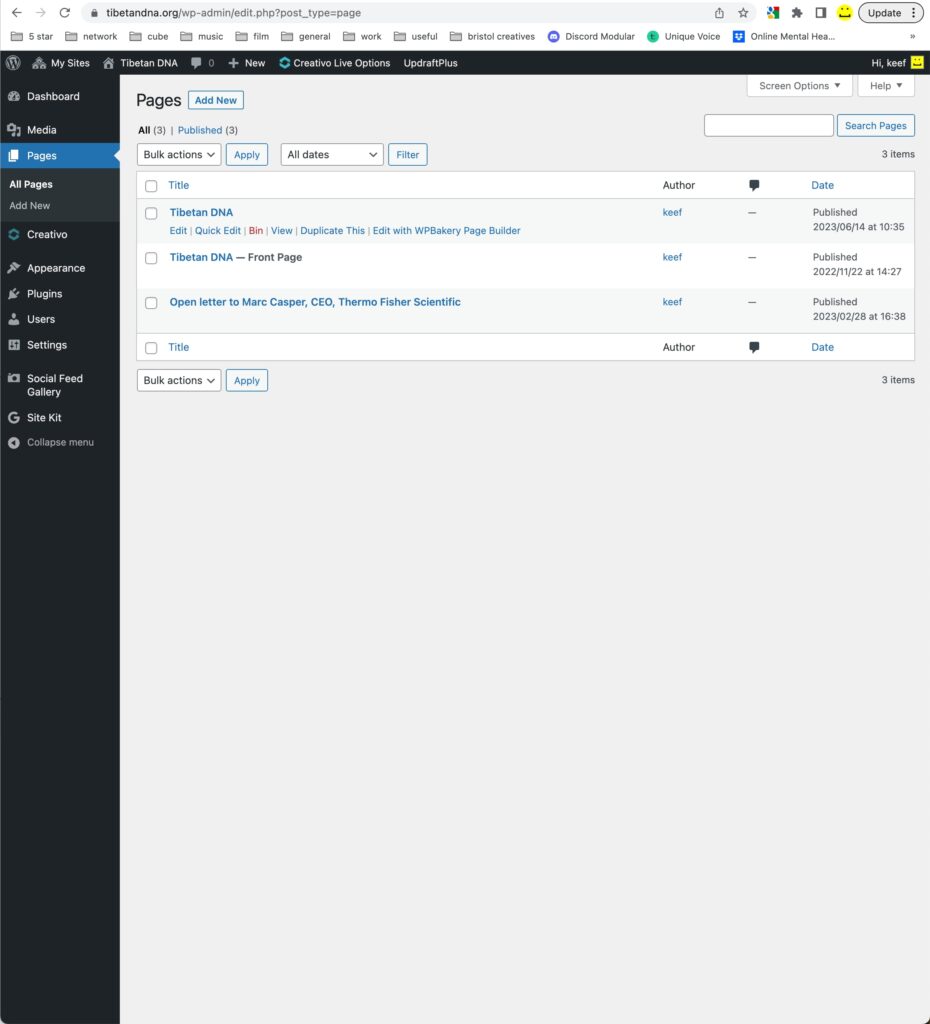
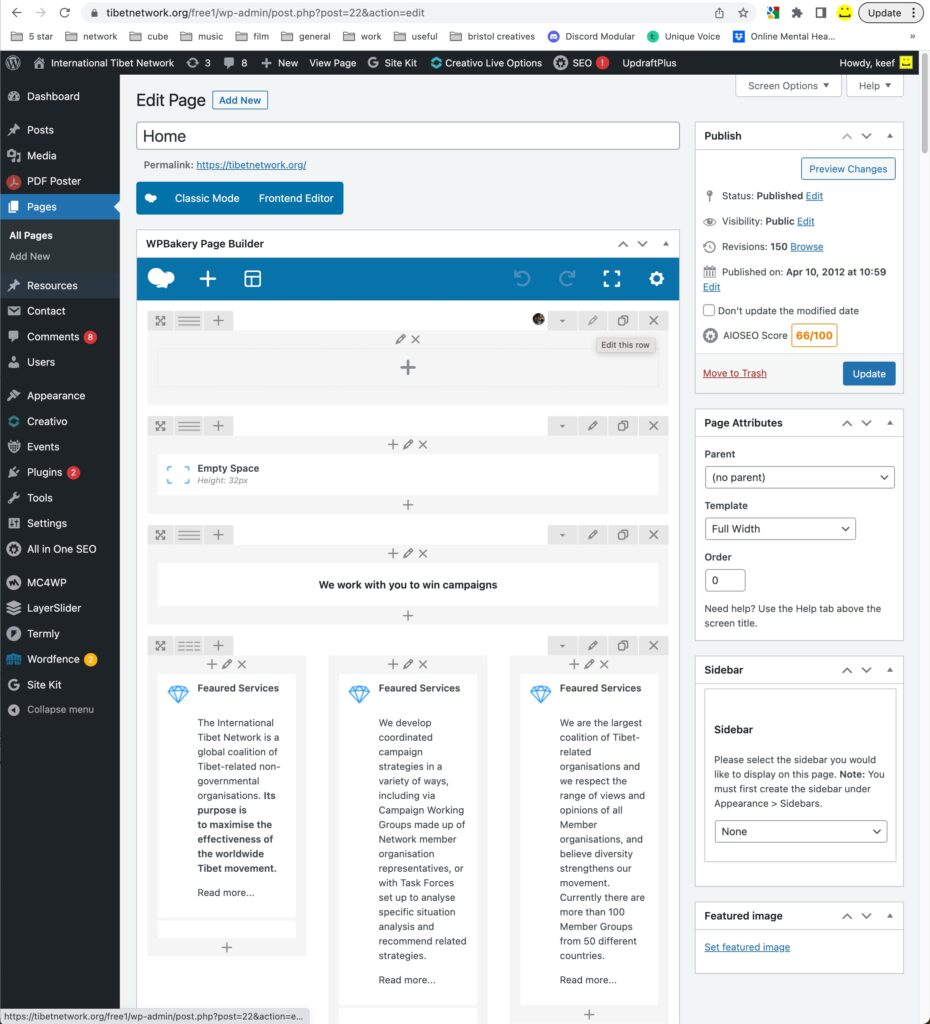
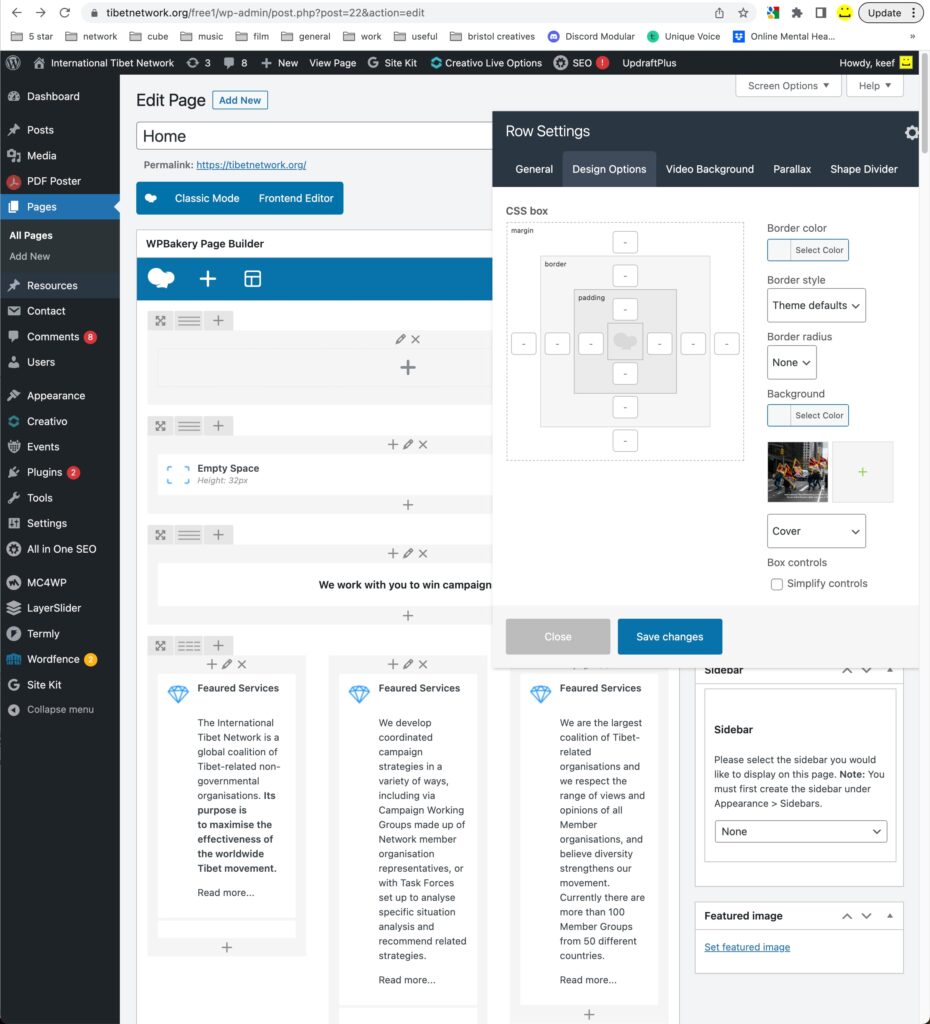
To make life easier I’ve installed a plugin that allows you to duplicate any page or post. Simply select the page or post from the list and click on the ‘Duplicate This’ link in the options. You now have a duplicate page in draft mode to work on. Click on ‘Edit’ and ensure the page you go to is displaying the WPBakery Page Builder blocks, which are yours to edit. As you can see from the image, the page is separated by a series of block elements, usually Row, Heading, Text Single Image, Button, etc, but there are more at your disposal, like Video Player and Call to Action. If you rollover each block you can see they have four options, move, edit, duplicate and delete. BE CAREFUL OF THE DELETE OPTION! Clicking on it accidentally is difficult to rectify and you usually have to reload the page and lose any unsaved changes. To mitigate this it’s good practise to PUBLISH THE PAGE AND UPDATE AS YOU GO. The options you’ll usually use are Edit and Duplicate.
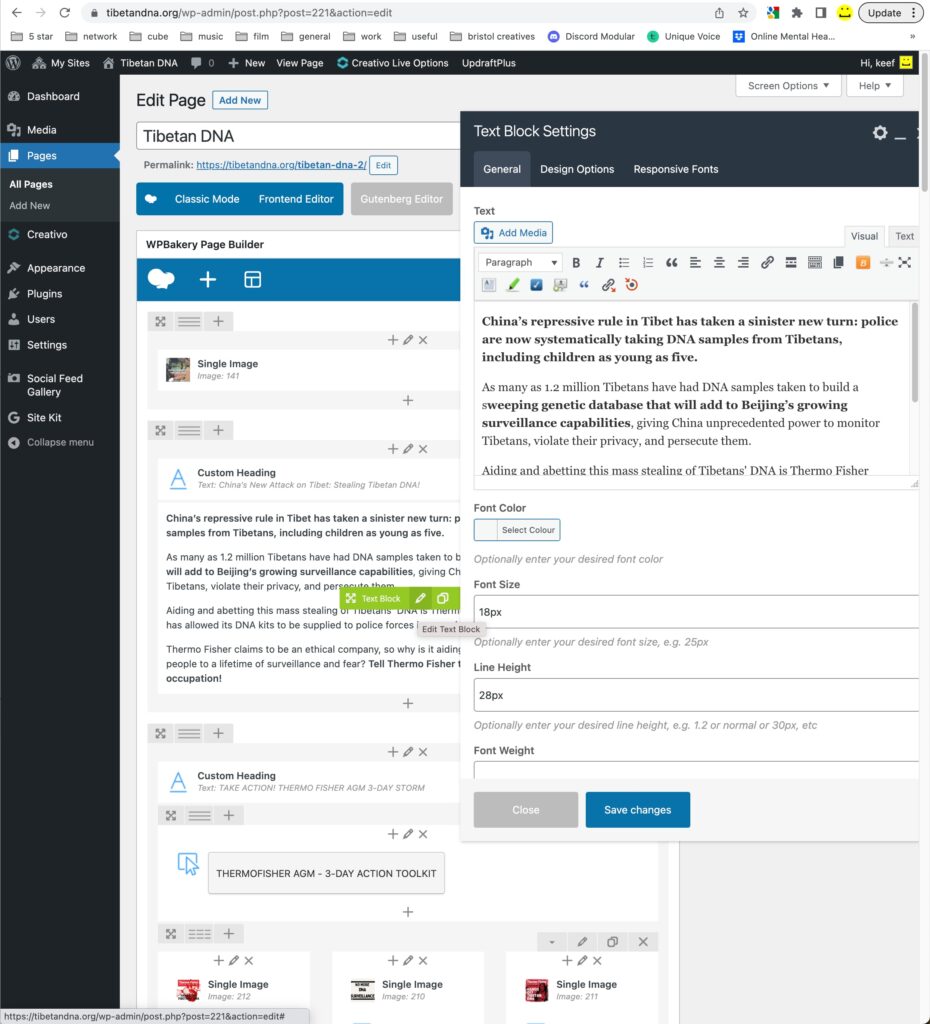
Editing a Text Block is a simple process of replacing the content with your updated content by cut and paste. Remember to Save changes before moving on. You can add media here too (images). The options below the editing pane are usually left alone.
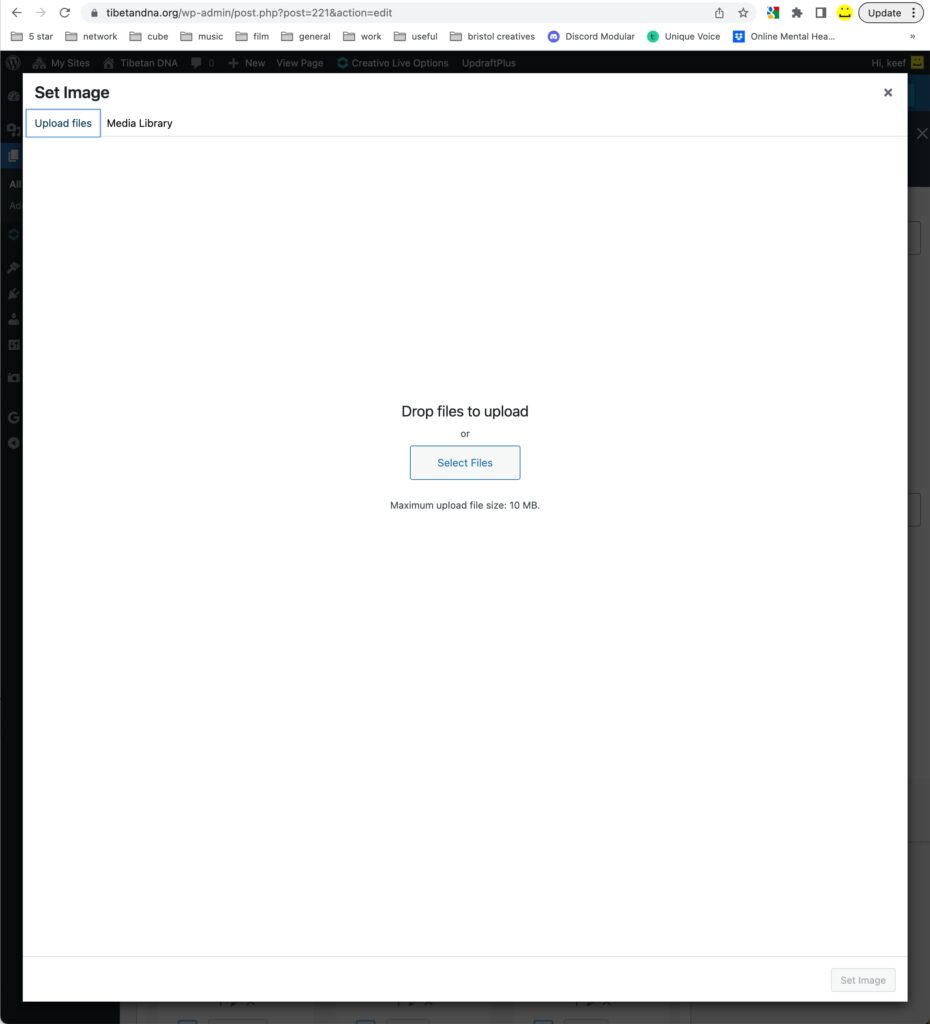
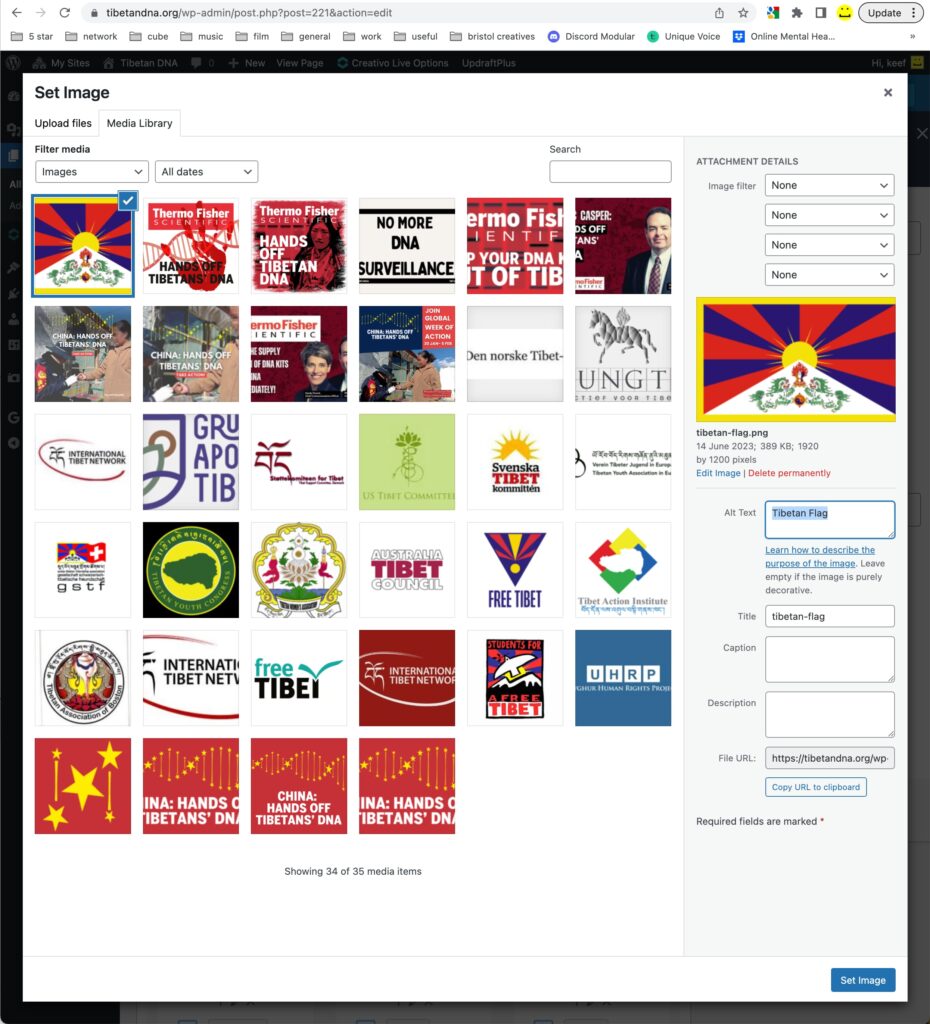
Editing a Single Image is just as simple. Click on the image to be replaced and it will disappear! Then click on the empty box and either select its replacement from the Media Library, or Upload a new file. It’s good practise to add some Alt Tag information when uploading a new image, as this makes it easier to find later, plus Google likes it. The Tibet Network sites have a plugin which resizes huge images to something more web-friendly, so don’t worry too much about image size, but note there is a 10mb limit! Remember to Save changes.
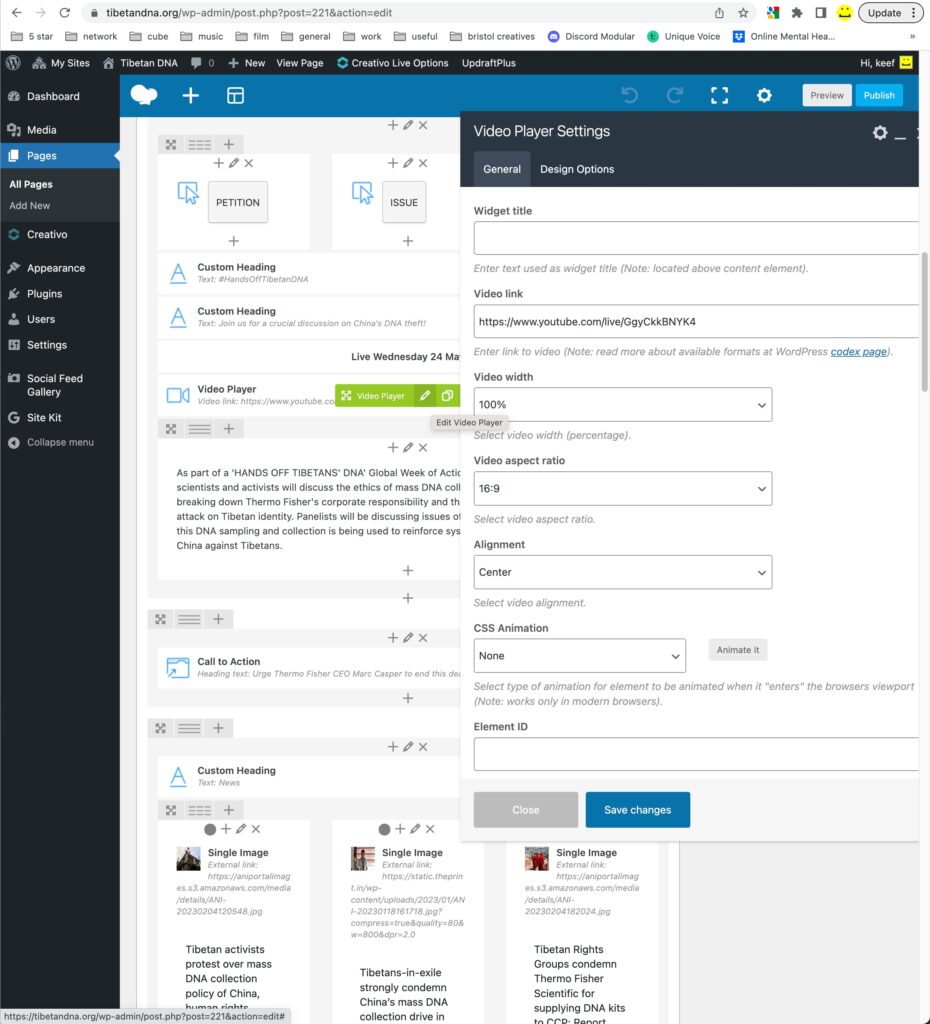
If you are swapping a video, simply grab the share URL from Youtube and replace it in the relevant field.
It’s worth noting that if you’re duplicating a Row, there are options to set the amount of columns (although I doubt you’ll need to).
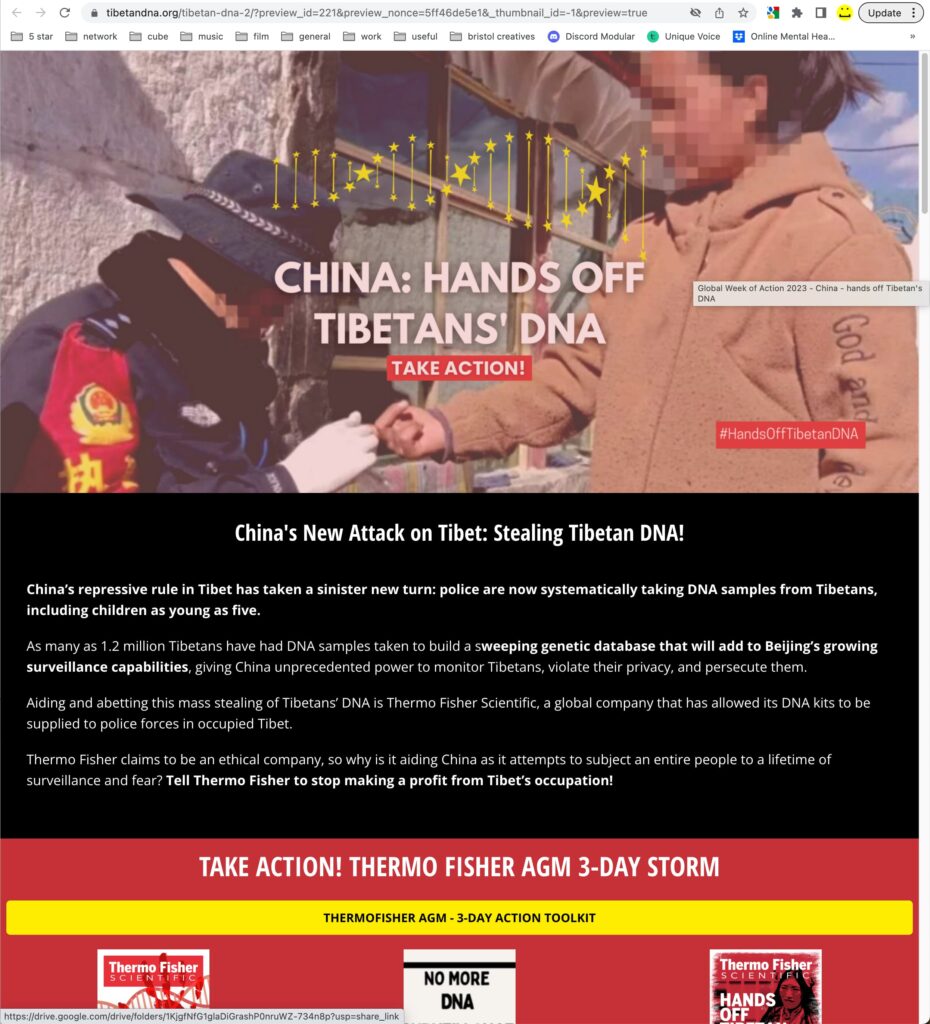
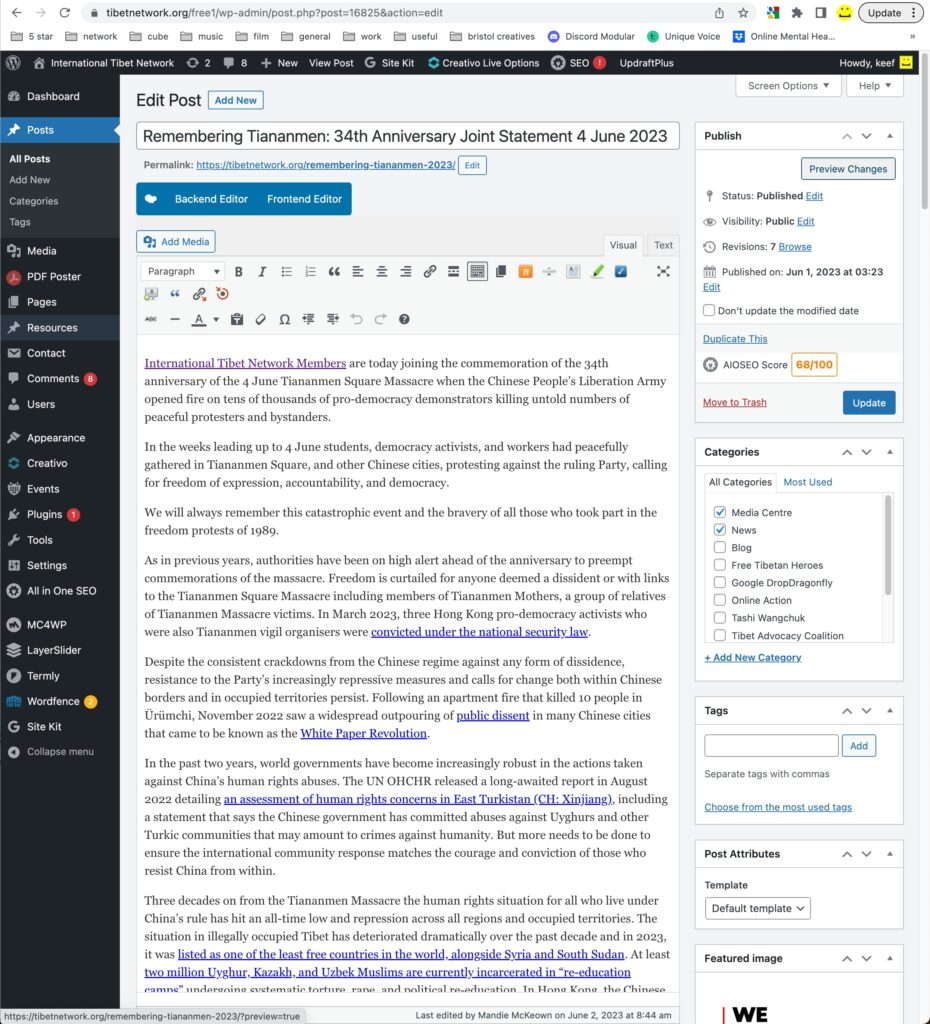
When you’re finished, Update the page, then click on ‘Preview Changes’ and check what you’ve done. You can see in the image that I’ve rolled over the top image (China: hands off Tibetan’s DNA) and the Alt Tag is displaying. This is what Google likes to see as it can’t ready images so relies on this information.
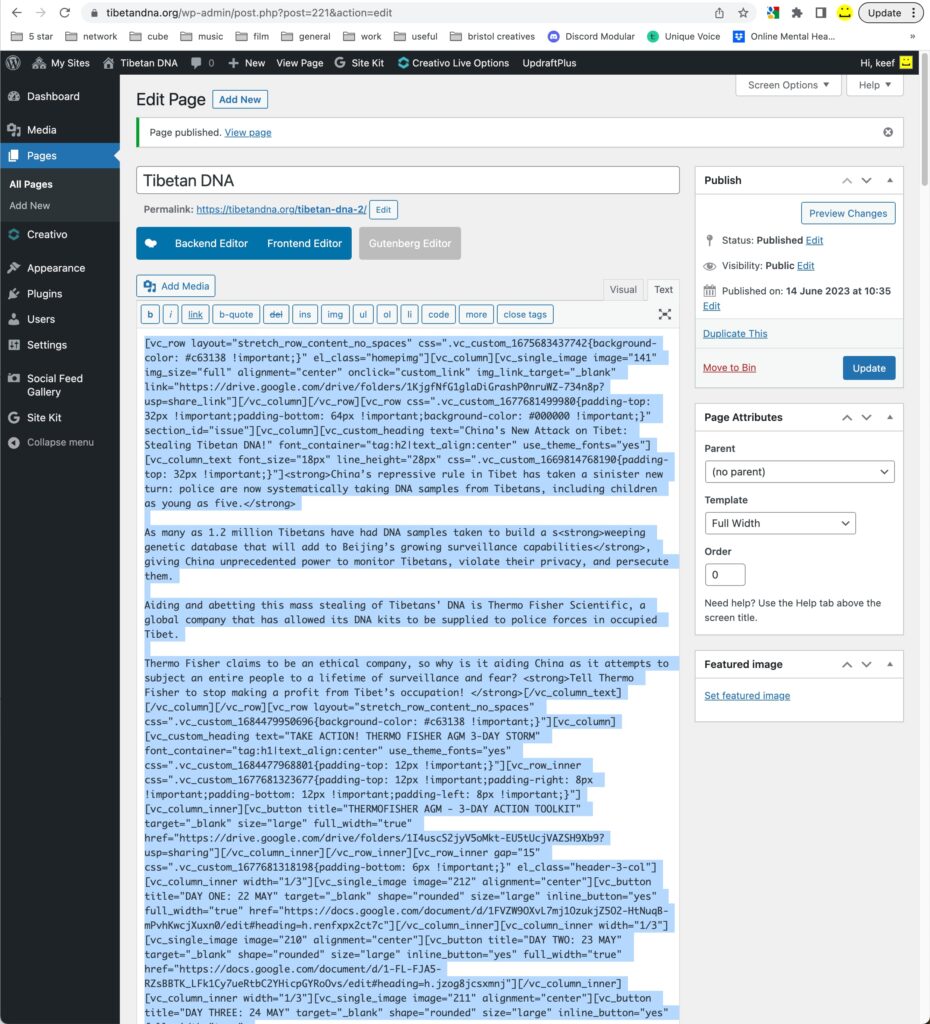
If you’re happy with what you see, then this is the slightly tricky bit! Go back to the editing window and click on ‘Classic Mode’ and the ‘Text’ pane and select all the content. Now go to the live page you want to update and do the same note the Permalink difference). Paste the new content into place and Update the page.
You’re done!
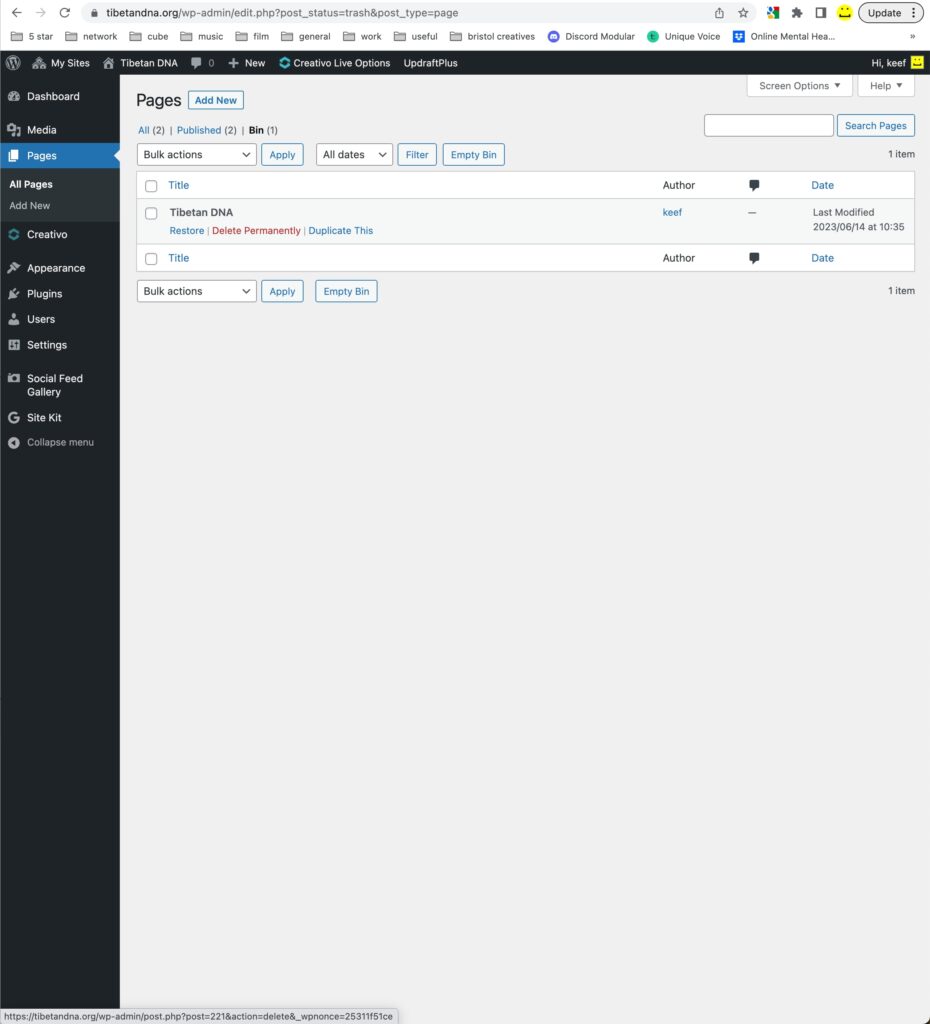
It’s now safe to Bin the test page. Please do this, then go to the Bin and click on the ‘Delete Permanently’ link.
Obviously if you’re simply making a few simple edits you can do this on the live page.
The Tibet Network Website
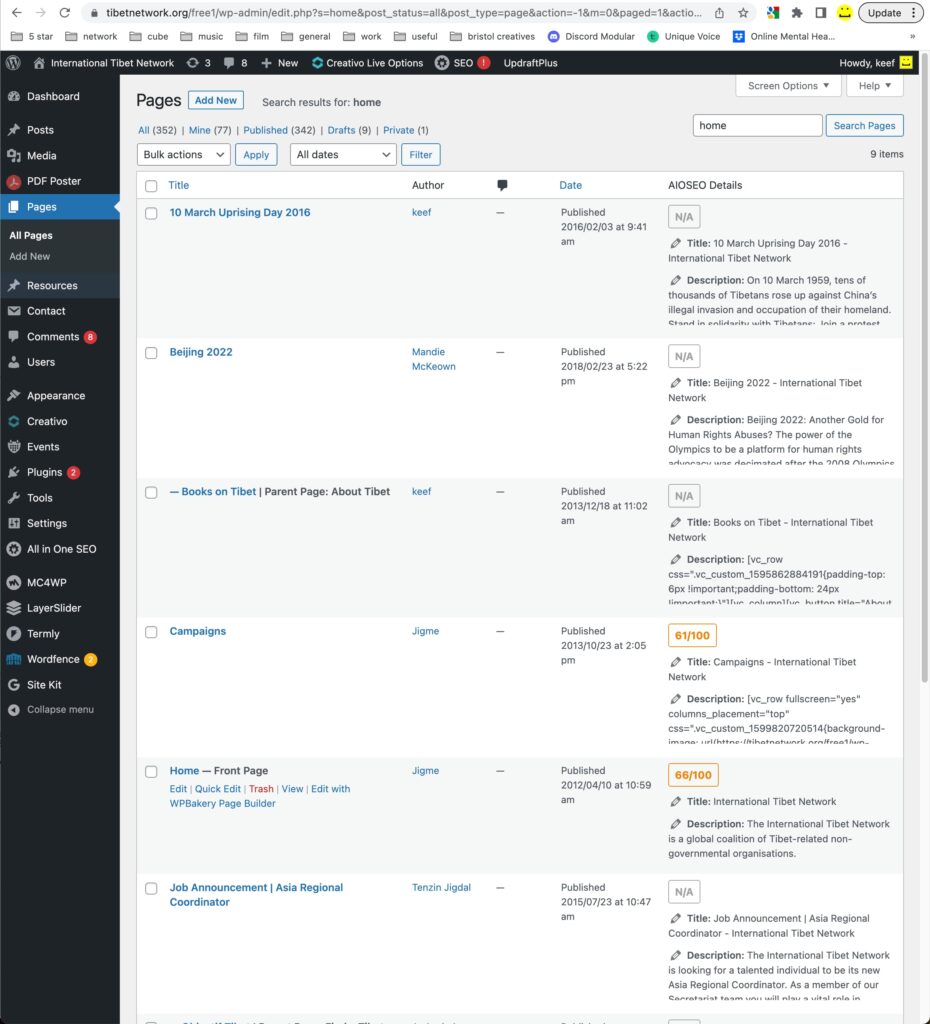
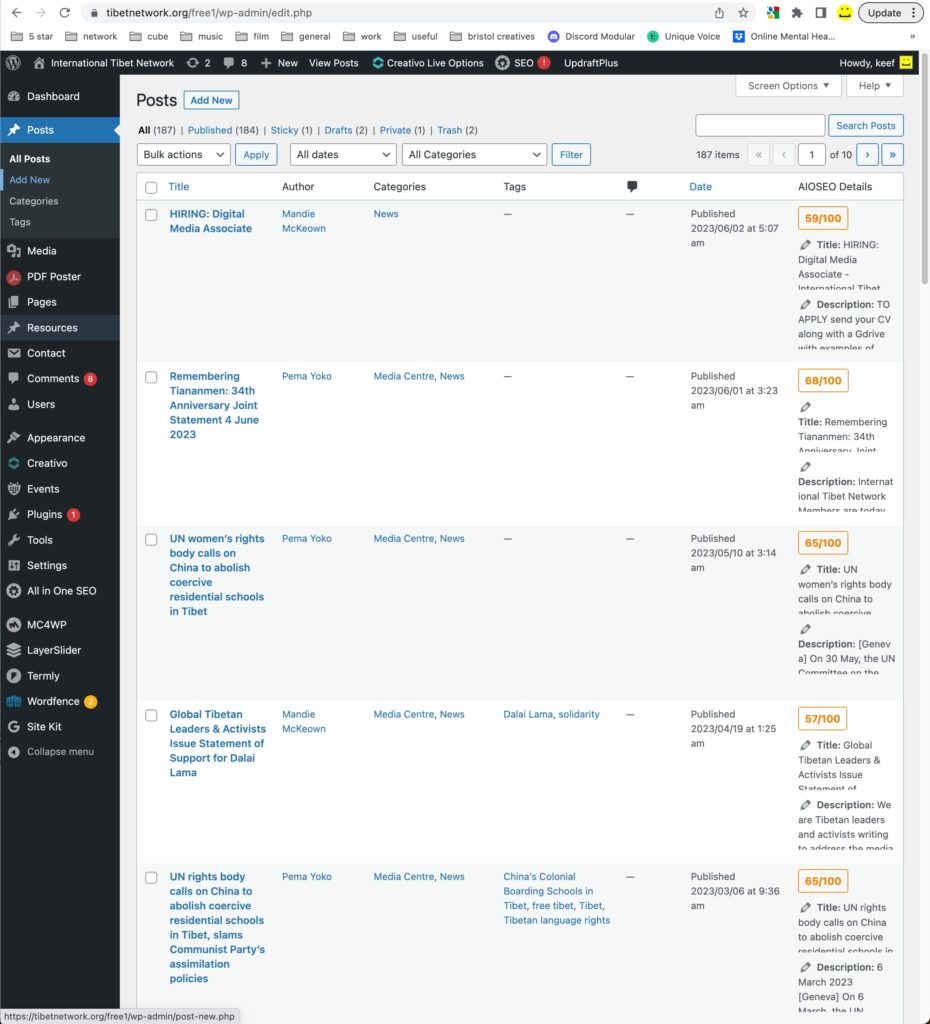
This is our main site and it has many pages, along with posts, which are slightly different, consequently finding pages can be hard, but use the ‘Search Pages’ field and it should narrow things down.
If editing the Home page it might be best to use the ‘copy a page to a test page’ method, but feel free to make simply changes on the live page.
You can see the main pages on the Tibet Network site have a Row with nothing in them at the top. This contains the main image you see on the front end, which can be swapped out by clicking on ‘Edit this row’ and then the ‘Design Options’ tab. The process is the same as swapping any image.
Posts
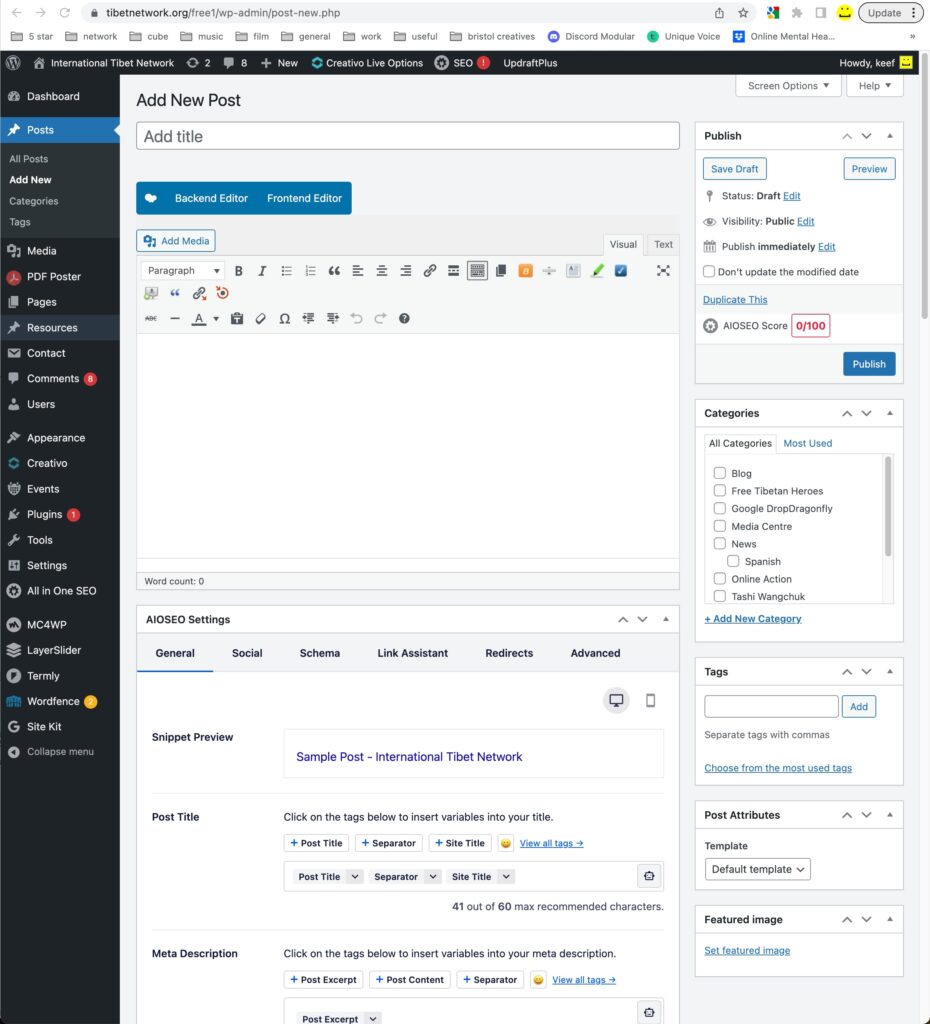
Posts work differently to pages in as far as they run chronologically like any blog, with the newest at the top of the list. You’re unlikely to want to edit a post, it’s more than likely that you’ll be adding a new one, so click on ‘Add New’.
There are specific fields and options which require completing. Hopefully you’re have all this information to hand! Enter the post title, select a Category, add a Featured image and enter the content, including any extra images. You can add some Tags too if you like; these will help it to be found if visitors enter one of the keywords into a search bar.
When ready Publish the page and click on ‘Preview Changes’ to check your work. Your post should also now be visible in the relevant section, like the ‘Media Centre’.
You’re done adding a new post!

